The star of any Thanksgiving meal is and has always been the turkey. Crisp, brown skin and juiciness throughout are the hallmarks of a well-prepared bird. But very often, the turkey is bland, bone-dry and, quite frankly, disappointing. Fortunately, these shortcomings are easily avoidable with these simple tips.
1. Get a good bird.
There are lots of option out there, but if you are willing to spend a little extra, it will money well spent. I personally opt for an Organic, free range bird that’s raised on high quality feed and no antibiotics or growth hormones. I find it tastes better, especially the dark meat which is my favorite. Happy birds are delicious birds and the flavor difference between one that is raised in a free range environment is far superior to that of one raised in crowded conditions. You can also get a heritage turkey (these are older breeds that differ from the standard, broad-breasted varieties that are mass raised). These birds are very rich in flavor and are raised in a pastured environment.
If you can, try getting fresh instead of frozen. It tastes better and I find that defrosting a turkey can result in some moisture loss.
2. Brine!
I’m a firm believer in a brined turkey whether it’s wet or dry-brined. Wet brining involves soaking the turkey in salt water for a day or 2. During that time, the turkey absorbs some of the liquid and tenderizes resulting in moist, super flavorful bird every time. You can add herbs, sugar, and citrus to the brine to amp up the flavor.
Dry brines are a mixture of salt, herbs and spices that you rub on the skin. Let the turkey sit in the refrigerator for a couple of days. When roasted, the skin gets deliciously crisp skin and you end up with a well-seasoned meat.
3. Cooking tips.
If you’ve wet brined the turkey, carefully remove it from the brine and rinse in cool water. Dry the skin well with paper towels and let the bird sit at room temperature for about an hour before roasting. I use a roasting pan with a rack so that the turkey is elevated and roasts evenly around. Don’t have a rack? Place the turkey on top a bed of chunks of carrots, onions, and celery. A preheated 400 degrees works well but feel free to lower the temperature during cooking if the skin gets too dark.
Here’s a suggestion if oven space is an issue: use your outdoor grill! Just make sure its heated to a moderate temperature and use that lid to keep in the heat. It works so well as a makeshift oven and if you use charcoal the flavor is even better!
The roasting time depends on the weight of the turkey, but go for about 12 minutes per pound. Take the birds’ temperature using a meat thermometer. I have an inexpensive digital instant read thermometer that I use to quickly get a temperature. I read the temperature on the breast and thighs and make sure that it reaches about 155F to 160F to kill off salmonella (the internal temperature will continue to rise a bit during the resting time). Let the bird rest at least 20 minutes before carving so the juices can redistribute throughout the meat. And try not to go beyond the 160F internal temperature or you may have a dry turkey!
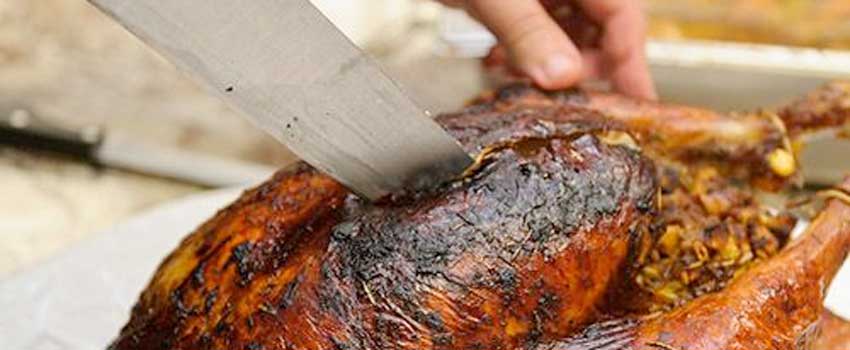
4. Carving
My approach to carving is pretty much the exact same as a whole cooked chicken. I start by removing the legs by locating the joint of the thigh bone that sits right next to the side of the turkey. Don’t be timid, push that end of the bone up, away from the body and it should easily reveal itself. Carve the leg between that joint and the body and voila! You’ve carved the leg. Then separate the leg into two pieces, the drumstick and thigh, by cutting right where the leg bends. It should cut easily.
I like to carve breast meat by taking a sharp knife and carving each breast away from the breast bone and ribs. Then I slice the breast into clean slices once it’s completely off the bone. Plate up the carved turkey on a warm platter and enjoy!